Service Manual: Final Drive Removal Instructions
Product Overview
This section of the service manual provides detailed instructions for removing a final drive assembly from your machinery. Follow these steps carefully to ensure a safe and effective removal process.
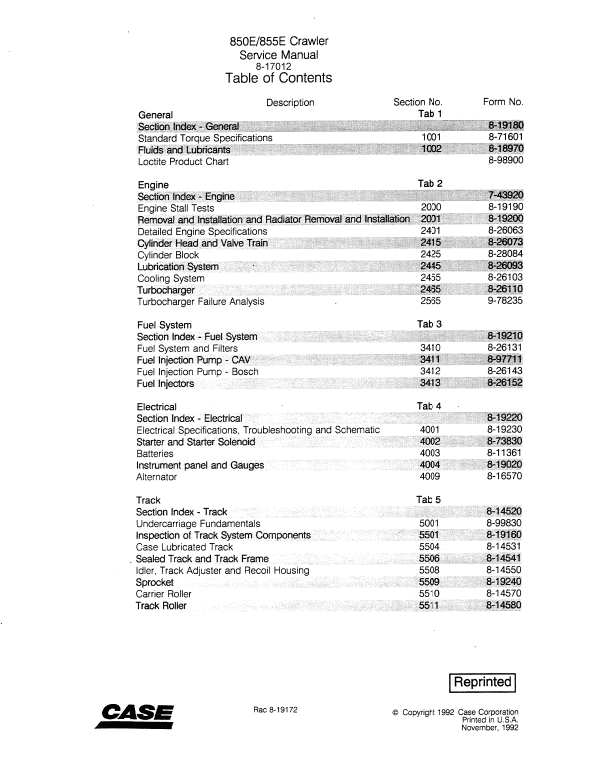
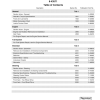
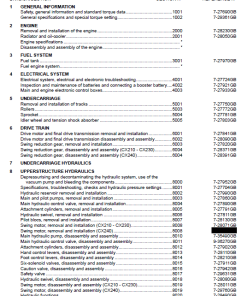
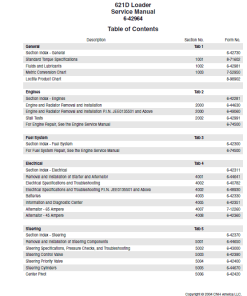
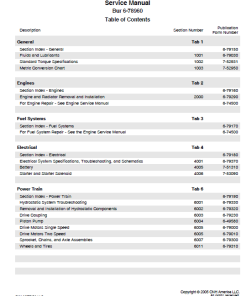
Table of Contents
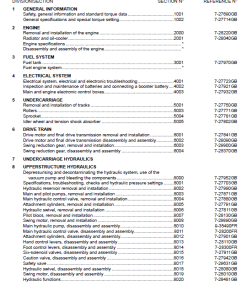
- General
- Engines
- Fuel System
- Electrical
- Track System
- Power Train
- Brakes
- Hydraulic System
- Mounted Equipment
Instructions for Removing a Final Drive
-
Initial Preparations:
- Refer to the appropriate section in this service manual to begin removing the rear attachment.
- If installed, remove the bottom guard for the final drive.
- Detach any necessary mounting arms and frames.
- Sprocket Removal: Align with instructions provided in Section 5509 to remove the sprocket from the final drive.
-
Stabilization:
- Place a jack under the transmission for support during the final drive removal. Ensure not to lift the transmission with the jack.
- Fastener Removal: Loosen and remove the cap screws securing the final drive to both the seat frame and main frame.
- Nuts Removal: Loosen and remove the self-locking nuts that attach the final drive to the transmission.
-
Lifting Tool Installation:
- Secure lifting tool CAS-1553 to the sprocket shaft.
- Tighten the clamps firmly against the housing before tightening the nut.
- Lifting Equipment Connection: Attach lifting equipment to the tool, then leverage using a long pipe at the tool’s end.
-
Final Drive Removal:
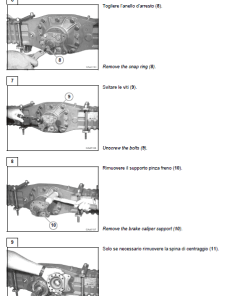
- Extract the final drive from the machine. If necessary, apply gentle force to the bottom front and rear to break the seal between the final drive and the transmission.
- Utilize a prybar as needed to facilitate removal.
Usage Recommendations
- Ensure all removal steps are performed on a stable, flat surface to maintain safety.
- Use proper safety gear, including gloves and eyewear, throughout the process.
- This process should be conducted by experienced technicians familiar with the machinery’s service manual.
Only logged in customers who have purchased this product may leave a review.
Related products
$32.00
$34.00
$33.00

Reviews
There are no reviews yet.