Comprehensive Brake Disc Removal and Installation Guide
Product Overview
This guide provides detailed instructions on how to effectively remove and install brake discs for optimal performance. Ensure adherence to all recommended procedures for the best results.
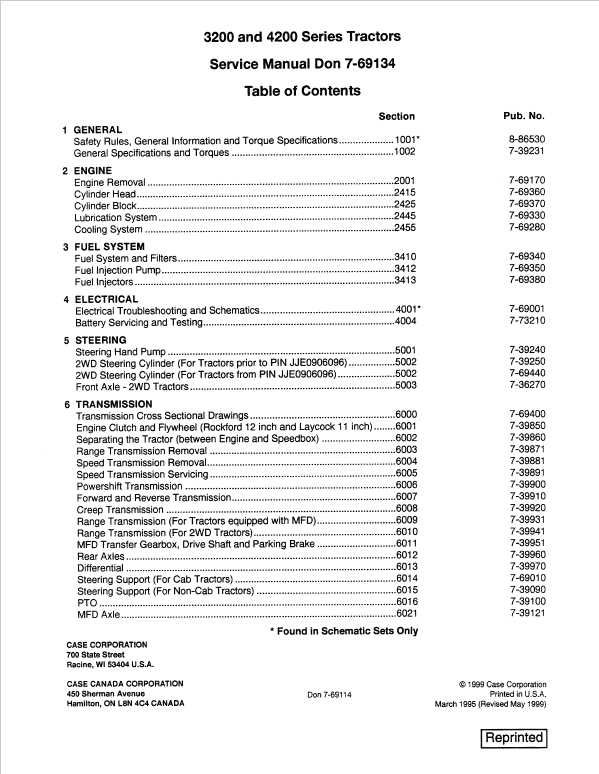
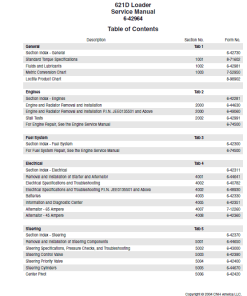
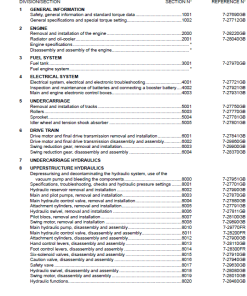
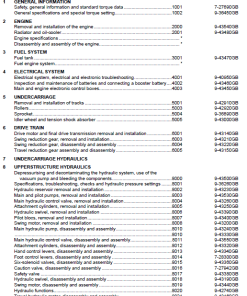
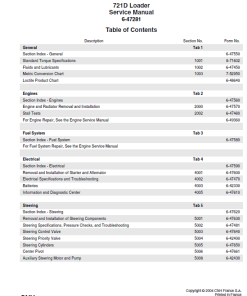
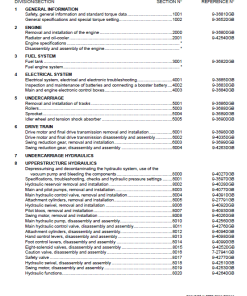
Table of Contents
- General
- Engine
- Fuel System
- Electrical
- Steering
- Transmission
- Brakes
- Hydraulics
- Chassis and Mounted Equipment
Manual Extract: Brake Disc Removal and Installation
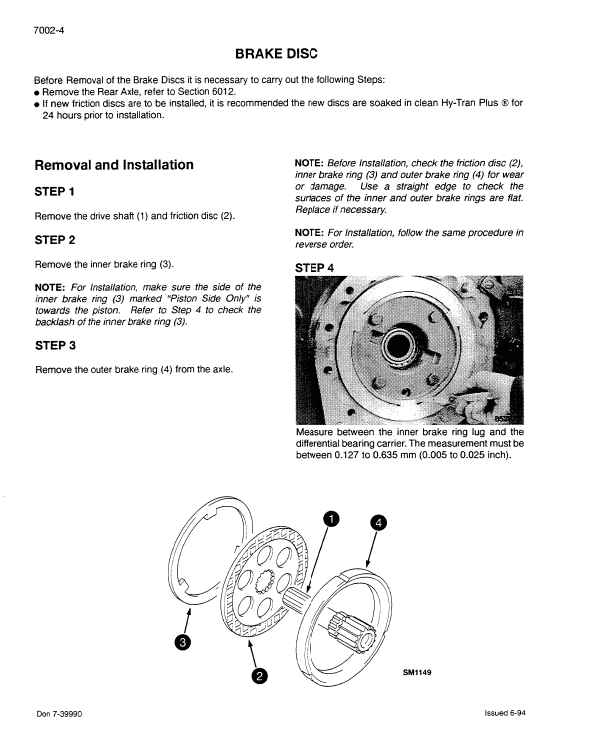
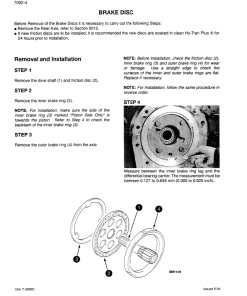
Before proceeding with brake disc removal, please complete the following preliminary step:
- Remove the Rear Axle, as detailed in Section 6012.
- If installing new friction discs, soak them in clean Hy-Tran Plusu00ae for 24 hours prior to installation.
Removal and Installation Steps
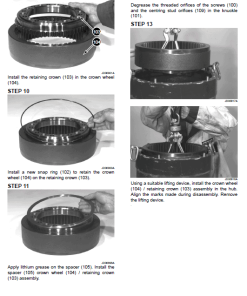
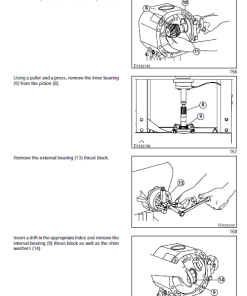
- Step 1: Remove the drive shaft (1) and the friction disc (2).
- Step 2: Detach the inner brake ring (3).
- Step 3: Take out the outer brake ring (4) from the axle. Be sure to inspect the friction disc (2), the inner brake ring (3), and the outer brake ring (4) for any signs of wear or damage. Use a straight edge to verify that the surfaces of the inner and outer brake rings are flat. Replace components if necessary.
Note: For installation, ensure the side of the inner brake ring marked “Piston Side Only” faces the piston. Reverse these procedures to install.
Step 4: Measure the space between the inner brake ring lug and the differential bearing carrier. The measurement should be between 0.127 to 0.635 mm (0.005 to 0.025 inches).
Key Features
- Detailed step-by-step removal and installation instructions.
- Includes critical measurement guidelines for precise installation.
Benefits
- Ensures correct and efficient brake system assembly.
- Helps maintain vehicle safety and performance standards.
Usage Recommendations
- Follow each step carefully to prevent component damage.
- Use proper tools and safety gear for all procedures.
Only logged in customers who have purchased this product may leave a review.
Related products
$34.00
$33.00
$35.00
$34.00
$34.00
$33.00

Reviews
There are no reviews yet.