Case CX26C Mini Excavator Service Manual
$35.00
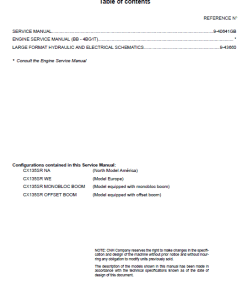
Enhance your understanding of the New Holland CX26C Mini Excavator with the comprehensive service manual.
Manual Details:
Service Manual: 1423 pages
Specifications:
Brand: New Holland
Model: CX26C
Type: Mini Excavator
Manuals Included: Service Manual
Publication Numbers: 51422585 (Jan 2018)
Language: English
Format: PDF
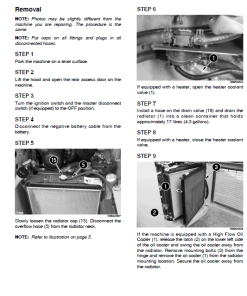
Radiator Inspection Manual
Product Overview
This manual provides detailed instructions for inspecting and testing radiators to ensure they are free from air and water leakage. It covers procedures for using a radiator tester, measuring pressure drop, and conducting leak tests.
Key Features
- Comprehensive Inspection Guide: Step-by-step instructions for inspecting and testing radiator integrity.
- Pressure Testing: Methods for applying and measuring pressure to detect potential leakages.
- Repair Guidelines: Advice on how to address common issues such as pinhole leaks.
Benefits
- Ensure Longevity: Regular inspection can prevent costly damage and extend the life of the radiator.
- Maintain Efficiency: Properly functioning radiators contribute to optimal engine performance.
- Safety Assurance: Identifying and repairing leaks can prevent overheating and potential engine failures.
Usage Recommendations
- Use a radiator tester and appropriate adapter to check pressure levels accurately.
- Follow the specified pressure guidelines: apply 88 kPa (13 psi) and measure the time for pressure to fall to 59 kPa (8.6 psi).
- If pressure drops quicker than the factory specification (more than 10 seconds for pressure fall from 88 to 59 kPa), replace the radiator cap.
- For water leakage: pour the specified amount of water, test with the specified pressure, and check for leaks.
- Repair minor leaks using radiator cement; if leakage is excessive, replace the radiator.
- Always refer to individual radiator specifications during leak testing, as pressure requirements may vary.
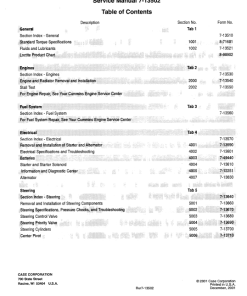
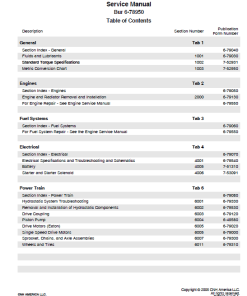
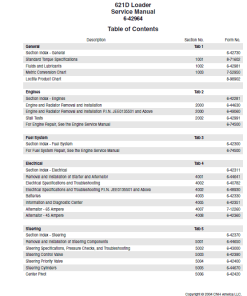
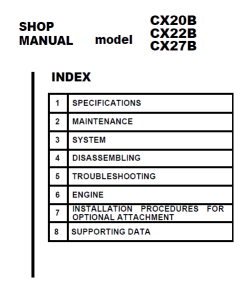
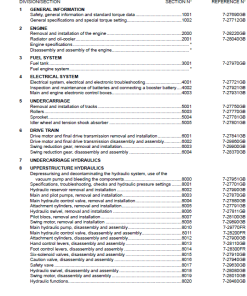
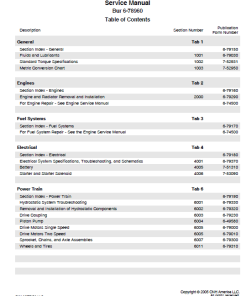
Table of Contents
- Content
- Introduction
- Engine
- Hydraulics System
- Frames and Ballasting
- Tracks and Track Suspension
- Electrical System
- Booms, Dippers and Buckets
- Dozer Blade and Arm
- Platform, Cab, Bodywork and Decals
- Electrical Schematic
- Hydraulic Schematic
Manual Extract: Radiator – Inspect for Air & Water Leakage
1. Set a radiator tester (1) and an adaptor (2) on the radiator cap.
2. Apply the specified pressure 88 kPa (13 psi), and measure the time for the pressure to fall to 59 kPa (8.6 psi).
3. If the measurement is less than the factory specification, replace the radiator cap.
| Pressure Falling Time | Factory Specification |
|---|---|
| More than 10 s for pressure fall 88 u2013 59 kPa (13 u2013 8.6 psi) |
Water Leakage
1. Pour a specified amount of water into the radiator.
2. Set a radiator tester (1) and an adaptor (2) and raise the water pressure to the specified pressure.
3. Check the radiator for water leaks.
4. For water leak from the pinhole, repair with the radiator cement. If water leakage is excessive, replace the radiator.
Note: The pressure of the leak test differs according to each radiator specification. Please refer to the test pressure specific to each radiator.
Only logged in customers who have purchased this product may leave a review.

Reviews
There are no reviews yet.