-
×
 Yale MP20DL Pallet Truck A473 Service Repair Manual
$25.00
 -
×
 Yale GLC20VX, GLC25VX, GLC30VX Forklift A390 Service Repair Manual
$37.00
 -
×
 Yale GDP16AF, GLP16AF, GLP16BF, GDP20AF, GLP20AF Forklift A810 Service Repair Manual
$34.00
 -
×
 Yale MP16, MP18, MP20, MP22 Pallet Truck A428 Service Repair Manual
$25.00
Case 521G Loader Service Manual
$37.00
Enhance your maintenance and repair knowledge with the comprehensive Case 521G Loader Service Manual. This essential guide includes detailed instructions and specifications, ensuring optimal performance for your loader.
Manual Details
Manual Included:
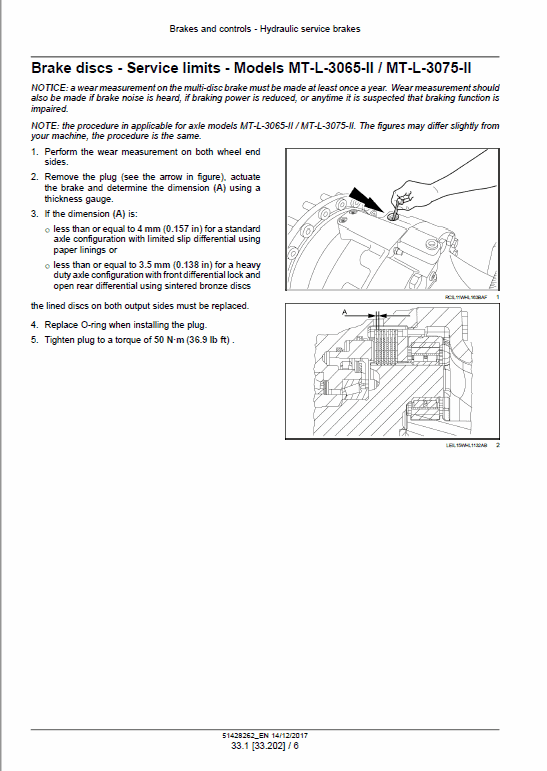
Hydraulic Service Brakes – Bleeding the Brake System
Product Overview
This comprehensive guide details the procedures for bleeding the hydraulic service brakes of your equipment. Ensuring proper maintenance of the brake system enhances safety and performance, making accurate bleeding an essential process. Follow these steps to maintain optimal brake function and longevity.
Key Features
- Step-by-step instructions for bleeding the brake system
- Procedures for checking and maintaining hydraulic fluid levels
- Guidance on disconnecting quick-attached components
- Instructions for safely securing equipment before maintenance
Benefits
- Ensures safe and reliable operation of the braking system
- Prevents air entry into the brake lines, maintaining system integrity
- Enhances equipment safety with correct brake fluid levels
- Increases longevity of brake components
Usage Recommendations
- Ensure Safety: Secure the loader arms and apply the parking brake before starting maintenance.
- Check Fluid Levels: Regularly verify and fill the hydraulic fluid reservoir as needed.
- Follow Procedures: Carefully follow each step of the bleeding process to avoid errors.
- Dispose Properly: Use appropriate containers to prevent spillage and properly dispose of drained fluid.
Detailed Instructions
- Check the level of the hydraulic fluid in the reservoir. Add fluid if necessary. If the machine has quick-attached components, disconnect them prior to proceeding.
- Raise the loader arms and install the safety link.
- Put the articulation lock in the LOCKED position and apply the parking brake.
- To prime the pump:
- Turn the ignition switch to the OFF position.
- Turn the timed disconnect switch to the OFF position.
- Disconnect the connectors from the ECU to prevent the engine from starting.
- Loosen the fitting on the brake pump section hose 9. Turn the ignition switch to ON and crank the engine (the engine will not start).
- After a few drops of oil are noticed leaking past the fitting, tighten the fitting.
- Turn the timed disconnect switch to the OFF position, then reconnect the connectors on the ECU.
- Turn the timed disconnect switch to the ON position and start the engine. Allow it to idle until both brake accumulators are fully charged.
- Note: After approximately 30 seconds, the low brake pressure indicator light should not be illuminated.
- Turn the ignition switch to the OFF position.
- Push the brake pedal to relieve hydraulic pressure in the brake system (approximately 20 times).
- Remove the plastic and rubber caps from each wheel and slowly open the bleed screws.
- Attach a hose to the bleed screws to prevent spillage. Submerge the hoses in fluid to prevent air entry into the brake system.
- Turn the ignition switch to the ON position, start the engine, and run at low idle for a few minutes.
- Depress the brake pedal until the flow from each tube is clear with no air bubbles.
- Close all four wheel end bleed screws and replace all caps and plugs on the wheel end.
- Check and verify that the hydraulic fluid level is filled to specification. Fill as required.
Only logged in customers who have purchased this product may leave a review.
Related products
$34.00
$33.00
$34.00
$34.50
$34.00




Reviews
There are no reviews yet.