Case 1021G, 1121G Wheel Loader Service Manual
$37.00
Enhance the maintenance of your Case loader models 1021G and 1121G with this comprehensive service manual. Available in a PDF format, it is meticulously detailed with a total of 2951 and 2233 pages.
Specifications:
Product Manual Overview
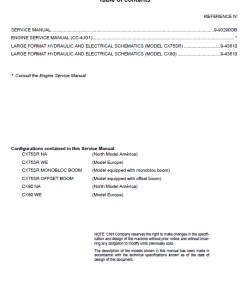
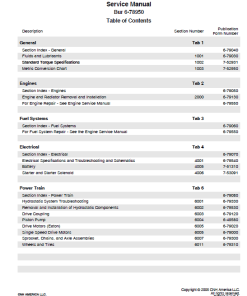
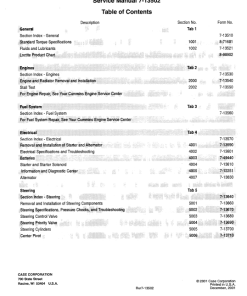
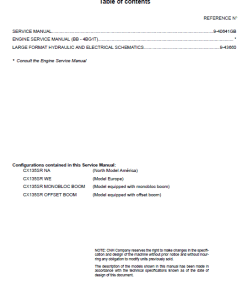
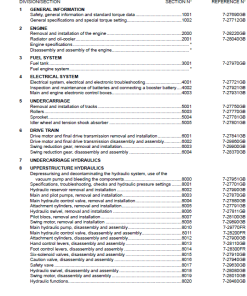
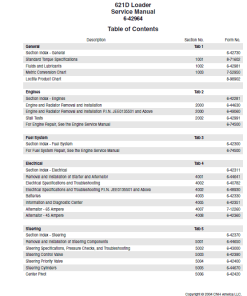
Table of Contents
- Content
- Introduction
- Engine
- Transmission
- Four Wheel Drive
- Front Axle
- Rear Axle
- Brakes and Controls
- Hydraulic System
- Brakes and Controls
- Frames and Ballasting
- Steering
- Wheels
- Cab Climate Control
- Electrical System
- Front Loader and Bucket
- Platform, Cab, Bodywork and Decals
- Special Tool Index
Oil Cooler/Heat Exchanger – Removal Procedure
This section provides a step-by-step guide to safely remove the oil cooler/heat exchanger from the machine.
Instructions
- Ensure the machine is parked on a level surface. Lower the bucket to the ground, stop the engine, and apply the parking brake.
- Raise the engine hood to access the components.
- Set the timed disconnect switch to the OFF position for safety.
- Open the engine cooling system frame to access the oil cooler.
- Loosen the hydraulic reservoir filler cap to release air pressure. Connect and activate a vacuum pump to the reservoir.
- Disconnect the top hose of the oil cooler. Install a plug in the hose and a cap on the fitting to prevent leakage.
- Disconnect the bottom hose and repeat the plugging process with a plug for the hose and a cap for the fitting.
- Carefully loosen and remove the bolts and washers fastening the oil cooler to the cooling frame. Safely remove the oil cooler from the machine.
Note: It is important to follow each step precisely to ensure the safety and functionality of the machine during maintenance operations.
Only logged in customers who have purchased this product may leave a review.
Related products
$34.00
$32.00
$34.00
$34.50
$33.00
$34.00
$33.00

Reviews
There are no reviews yet.