DX21 and DX24 Repair Manual
Product Overview
The DX21 and DX24 Repair Manual provides comprehensive guidance for the repair and maintenance of the DX21 and DX24 models. This manual is essential for service technicians and repair specialists, offering detailed sections covering every aspect of these models.
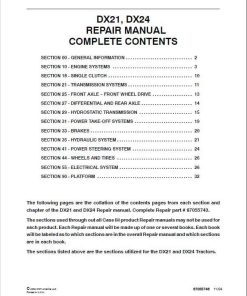
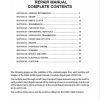
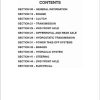
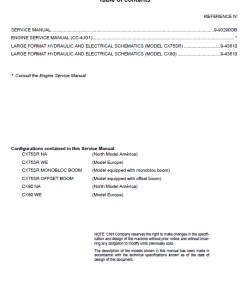
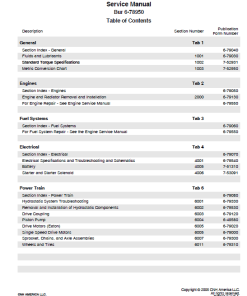
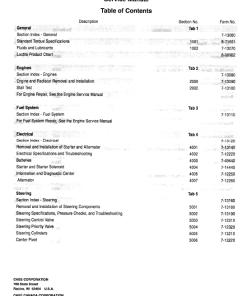
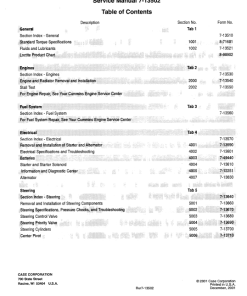
The manual includes a complete collation of contents pages from each section and chapter, following the overall structure of the Repair Manual #87055743.
Key Features
- Detailed and structured layout for easy navigation.
- Comprehensive instructions for installation and adjustment.
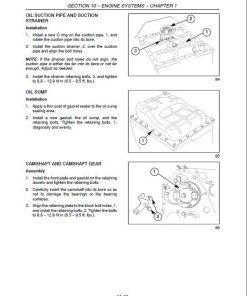
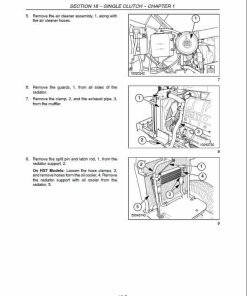
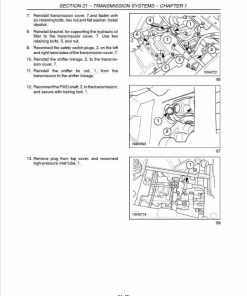
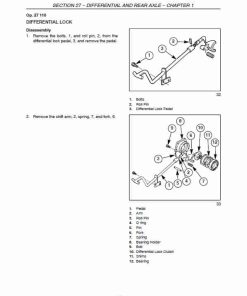
- Illustrations and diagrams for clear understanding of components and assemblies.
- Covers all major systems including engine, transmission, hydraulics, and electrical.
Benefits
- Facilitates efficient repairs and maintenance procedures.
- Enhances the reliability and performance of your equipment.
- Reduces downtime with accurate troubleshooting guidance.
Usage Recommendations
- Recommended for professional technicians and service centers.
- Ensure a copy is available in the workshop for quick reference during repairs.
- Regularly update the manual with any applicable amendments or additional notes.
Manual Extract: Installation and Adjustment
- If the port block assembly was removed, install a new port block assembly as outlined earlier in the section “Port Block Assembly Installation”.
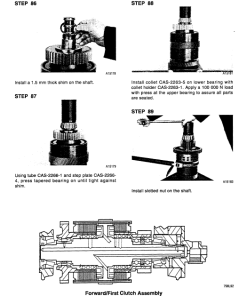
- Install the thrust washer. Align the timing marks on the idler gear, crankshaft gear, and camshaft gear (Figure 86) and install the idler gear on the port shaft.
- Install the rotor.
- Install the oil pump cover, shim, spring, and collar. Secure the assembly to the shaft with a retaining ring.
- Using a dial indicator, measure the axial movement of the collar. The standard clearance is 0.1 – 0.15mm (0.004 – 0.006 in.), with a maximum allowable clearance of 0.20 mm (0.008 in.). Adjust shims as needed to obtain the standard clearance.
- Install the water pump and cooling fan as per the “Water Pump and Thermostat Installation” and “Cooling Fan Installation” sections.
- Install the timing gear cover following instructions from the “Timing Gear Cover Installation” section.
- Refill the radiator to the correct coolant level.
- Replace the engine oil filter and fill the sump with oil.
Note: Shims are available in various thicknesses: 0.1 mm (0.004 in.), 0.15 mm (0.006 in.), 0.2 mm (0.008 in.), and 0.5 mm (0.020 in.).
Important: Ensure proper rotor clearance to avoid damage and maintain pressure and volume in the lubrication circuit.
Only logged in customers who have purchased this product may leave a review.
Related products
$34.00
$32.00
$34.00
$35.00
$34.00
$35.00


Reviews
There are no reviews yet.