JX Tractor Repair Manual – Comprehensive Guide
Product Overview
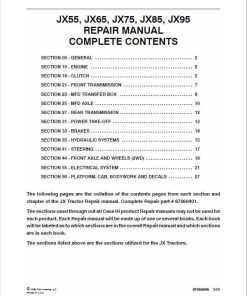
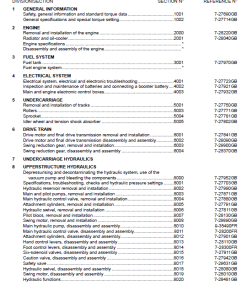
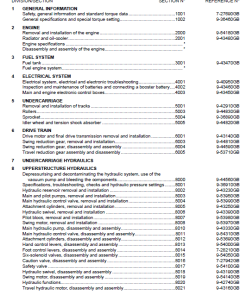
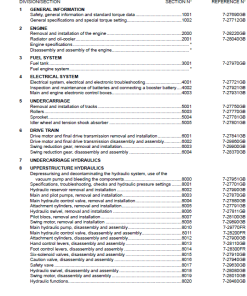
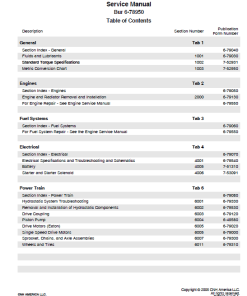
This manual provides detailed repair instructions for the JX Series Tractors, featuring models JX55, JX65, JX75, JX85, and JX95. It collates contents from each section and chapter, ensuring you have complete guidance for your repair needs. Identified as Repair Manual #87060401, it covers essential procedures and specifications.
Key Features
- Comprehensive sections on every major component of the tractor.
- Detailed figures and illustrations to guide each repair step.
- Torque specifications and tightening sequences for critical components.
- High-quality images for clear visualization of parts.
Benefits
- Ensures proper maintenance and extends tractor lifespan.
- Reduces downtime by providing clear and precise repair instructions.
- Improves safety and efficiency during repair operations.
Usage Recommendations
- Refer to this manual each time you perform maintenance or repairs.
- Follow specified torque sequences to avoid engine damage.
- Utilize high-quality tools as recommended in the manual for optimal results.
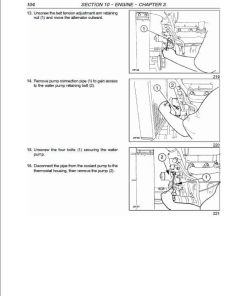
Manual Extract: Water Pump Removal
- Carefully lower the cylinder head onto the block, then screw in the cylinder head bolts finger tight.
- Refer to Figure 137 for the tightening sequence on 3-cylinder engines (JX55 and JX65 models).
- Refer to Figure 138 for the tightening sequence on 4-cylinder engines (JX75, JX85, and JX95 models).
- First stage: Tighten the bolts to a torque of 70 Nu22c5m (51 ft-lbs) following the indicated sequence.
- Second stage: Recheck the torque of all bolts using the same sequence.
- Using the angular tightening tool 380000304, perform the third stage by tightening each bolt through 90u00b0, followed by a further 90u00b0 for the fourth stage, adhering to the sequence in the figures.



Reviews
There are no reviews yet.