Case CX700B Crawler Excavator Service Manual
$34.00
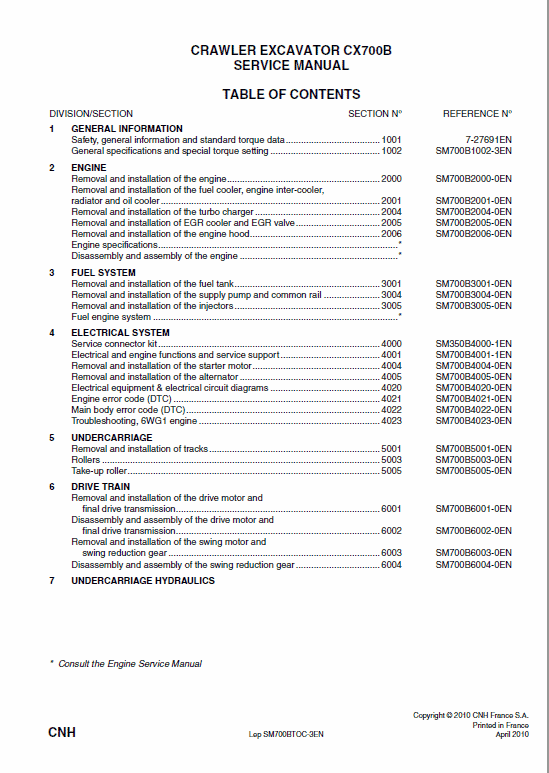
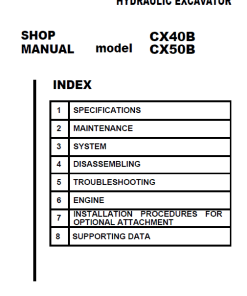
Get the comprehensive New Holland CX700B Excavator Service Manual, containing 1488 pages of detailed information. Ideal for maintenance and repair needs.
Specifications:
u2022 Brand: New Holland
u2022 Model: CX700B
u2022 Type: Excavator
u2022 Manuals Included: Service Manual
u2022 Publication Number: 84124939D (April 2010)
u2022 Language: English
u2022 Format: PDF
Take-up Roller Removal Procedure
Product Overview
This guide provides detailed instructions for the removal of the take-up roller on a Case CX700B excavator. Follow these steps carefully to ensure safe and effective disassembly using the appropriate tools and equipment.
Key Features
- Includes a comprehensive step-by-step procedure for removal.
- Utilizes common tools such as a crowbar and wrench.
- Provides visual guidance with detailed diagrams available in the linked manual.
Benefits
- Improves maintenance efficiency by offering clear and concise instructions.
- Ensures the safety of operators by outlining correct handling techniques.
- Minimizes downtime with a straightforward and organized process.
Usage Recommendations
- Ensure all necessary tools are available before beginning the procedure.
- Refer to the “Removal and Installation of Shoe Assembly” procedure for prior steps.
- Utilize appropriate lifting equipment to prevent accidents during removal.
- Secure the work area to maintain safety standards throughout the process.
Manual Extract: Removal of Take-up Roller
Step-by-Step Instructions:
1 Remove the shoe assembly. See the “Removal and Installation of Shoe Assembly” procedure.
2 Use a crowbar to pull off the take-up roller from the side frame.
3 Install the lifting equipment on the take-up roller and hang it securely from the side frame using a crane.
4 Place the take-up roller onto wooden planks as shown in the diagram. Use a wrench to remove the bolt, separating the take-up roller from the grease cylinder.
Only logged in customers who have purchased this product may leave a review.








Reviews
There are no reviews yet.