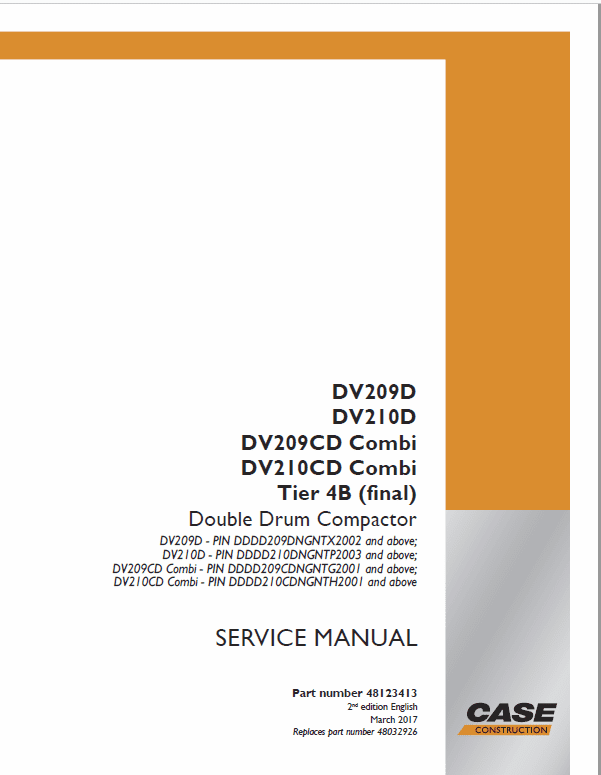
Case DV209D, DV210D, DV209CD, DV210CD Drum Compactor Service Manual
$35.00
Discover comprehensive guidance with the New Holland Compactor Service Manual, an essential resource for maintaining models DV209D, DV210D, DV209CD, and DV210CD.
Manual Details:
- Manual Included: Service Manual, 846 pages
- Publication Number: 48123413 (Mar 2017)
- Language: English
- Format: PDF
Brand: New Holland
Ensure your compactors operate at peak performance with this detailed service manual.
Manual: Terminal Removal from Connectors
Product Overview
This guide provides detailed instructions for safely removing terminals from connectors without causing damage. It is essential for anyone working with vehicle or machinery electrical systems. The manual highlights necessary tools and step-by-step procedures to ensure efficient and effective terminal extraction.
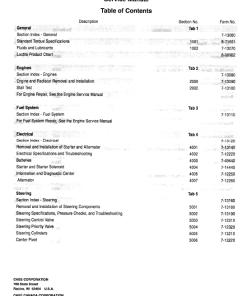
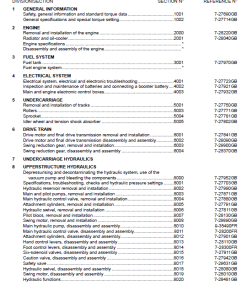
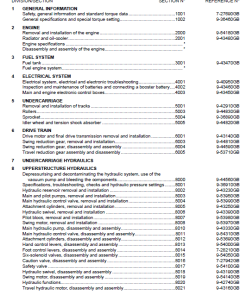
Table of Contents
- Content
- Introduction
- Hydraulic System
- Engine
- Frames and Ballasting
- Steering
- Wheels
- Cab Climate Control
- Electrical System
- Platform, Cab, Bodywork, and Decals
- Electrical Schematics
- Hydraulic Schematics
Key Features
- Specialized tools required for terminal removal.
- Comprehensive step-by-step instructions.
- Designed to prevent damage to terminals and connectors.
Benefits
- Preserve the integrity of connectors and terminals.
- Improve efficiency in electrical repairs.
- Ensure proper functioning of electrical systems.
Usage Recommendations
For successful terminal removal, please use the recommended harness diagnostic and repair kit, part number 380040185. This kit is essential for repairs involving wires, harnesses, and connectors.
- Ensure connectors are securely retained before attempting removal.
- Familiarize yourself with the terminal removal process specific to your connector type.
Manual Extract: Terminal Removal Process
- Disconnect the mating connector.
- Remove any wire or TPA lock.
- Grasp the wire and push the terminal to the front position in the connector cavity, holding it in place.
- Ensure the terminal locking tang is detached from the ridge within the connector cavity to facilitate removal.
- Identify the terminal lock tang within the connector cavity by viewing from the mating end.
- Insert a suitably sized pick or tool into the connector cavity from the mating end.
- Depress the lock tang using the tool to disengage the terminal.
- Carefully pull the wire to remove the terminal from the back of the connector.
Only logged in customers who have purchased this product may leave a review.



Reviews
There are no reviews yet.