Challenger MT738, MT740, MT743 Tractor Service Manual
$36.00
Format: PDF
Pages: 1485
Book Number: 79037223A
Language: English
Issued: January 2018
For more information, click here.
Challenger MT738, MT740, MT743 Tractor Service Manual
Product Overview
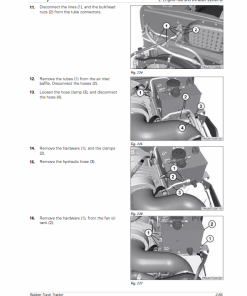
This comprehensive AGCO Challenger MT700 Series Tractor Service Manual is an essential resource for maintaining and repairing the MT738, MT740, and MT743 models. Published in January 2018, this expansive manual contains 1485 pages, providing detailed instructions and insights for troubleshooting and servicing your tractor.
Format: PDF
Language: English
Book Number: 79037223A
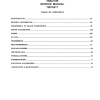
Table of Contents
- General Information
- Engine Fuel and Exhaust Systems
- Frame and Suspension
- Steering System
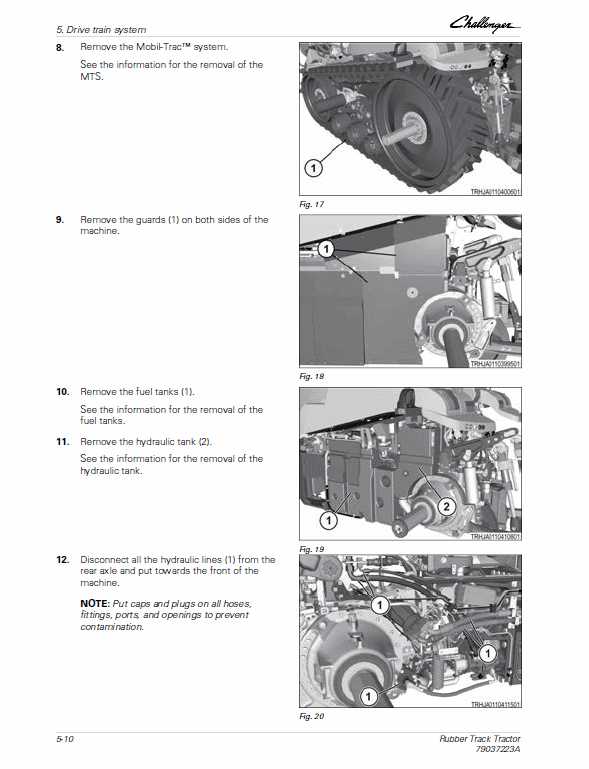
- Drive Train System
- Brake System
- Compressed Air System
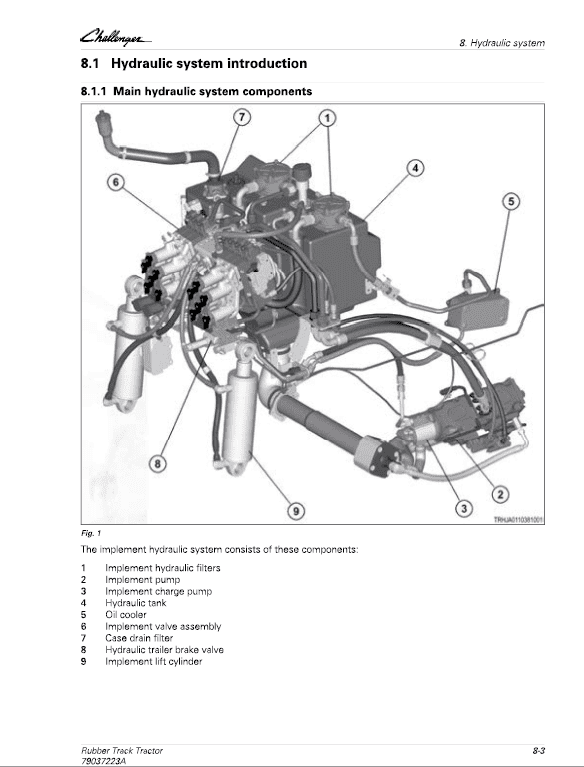
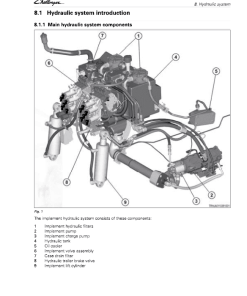
- Hydraulic System
- Electrical System
- Cab
- Air Conditioning and Heating System
- Chassis
- Track Belt System
- Implement Drive System
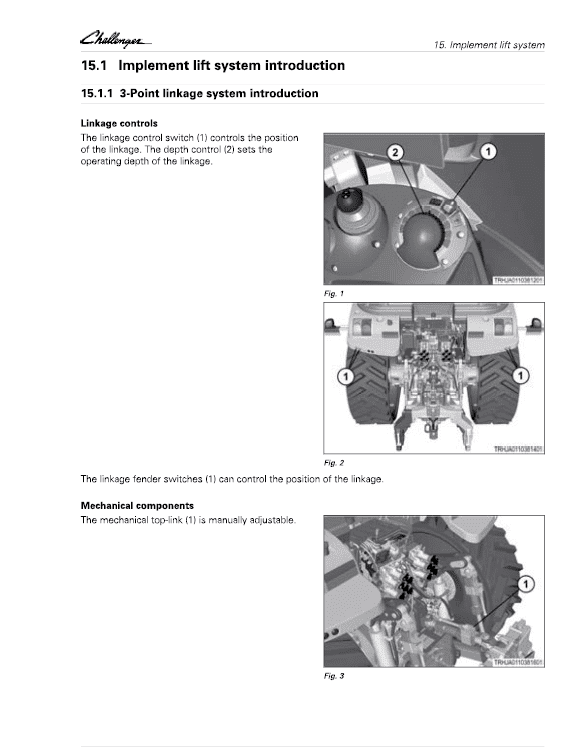
- Implement Lift System
- Attachments
- Special Tools
Key Features
- Detailed procedural guides for all major systems of the MT700 Series.
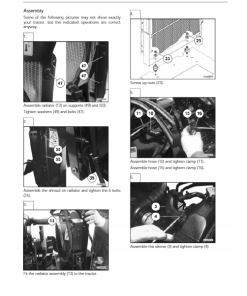
- Comprehensive diagrams and illustrations.
- Step-by-step instructions for repairs and maintenance tasks.
- Includes special tools and troubleshooting tips.
- Accessible in PDF format for ease of use.
Benefits
- Maximize the lifespan of your tractor with proper maintenance.
- Reduce downtime with precise and detailed repair guidelines.
- Resolve issues efficiently with comprehensive system coverage.
- Access to specific repair procedures for a range of components.
Usage Recommendations
- Ideal for professional mechanics and DIY enthusiasts.
- Ensure all safety protocols are followed during repairs.
- Use the manual alongside proper tools for best results.
- Consult the manual regularly for preventative maintenance tips.
MT738, MT740, MT743 Manual Extract: Changing Crankshaft Rear Oil Seal
- Lift out the engine.
- Remove the clutch assembly (and the turbine clutch, if applicable).
- Remove the flywheel.
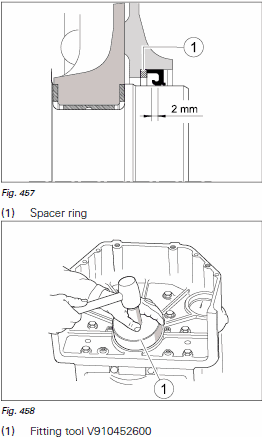
- Remove the oil seal, taking care not to damage the crankshaft.
- Clean the seal location and grind off any burrs.
- Fit the new seal:
- Fit the seal dry, without oil.
- Carefully position the seal on the shaft, ensuring the sealing lip is undamaged.
- Tap the seal into place using the appropriate fitting tool.
Note: If the crankshaft shows signs of wear at the sealing location, consider fitting a 2 mm spacer ring in front of the crankshaft rear oil seal.
Only logged in customers who have purchased this product may leave a review.
Related products
Challenger
Challenger








Reviews
There are no reviews yet.