Komatsu CK20-1 Skid-Steer Loader Service Manual
$32.00
This comprehensive 298-page shop manual is tailored for the Komatsu CK20-1 Skid-Steer Loader, covering serial numbers from F00003 onwards. Written in English and available in a PDF format, this manual bears the publication number WEBM006400.
Key Specifications:
CK20-1 Shop Manual
Product Overview
The CK20-1 Shop Manual is a comprehensive guide designed to enhance the efficiency and accuracy of repair and maintenance tasks. This manual provides operators with precise details and instructions, ensuring a thorough understanding of product mechanics and repair techniques. The content is structured to assist service technicians in effectively diagnosing and resolving issues, thus improving service quality.
Table of Contents
- Structure and Function
- Testing and Adjusting
- Removal and Installation
- Maintenance Standards
- Other
Key Features
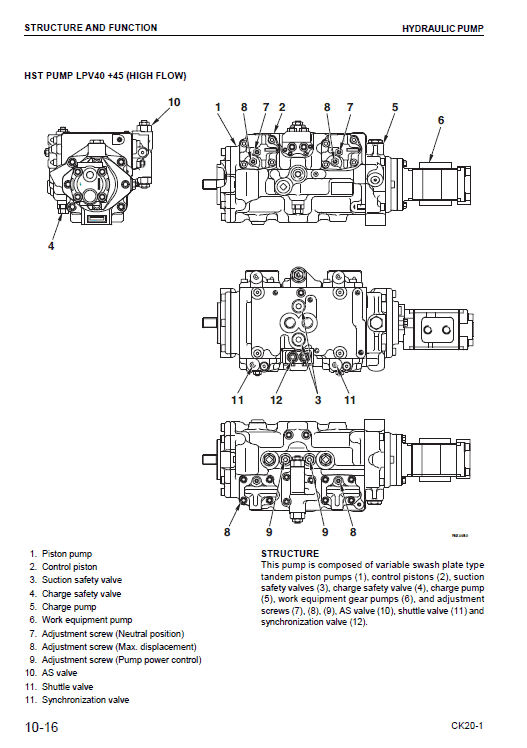
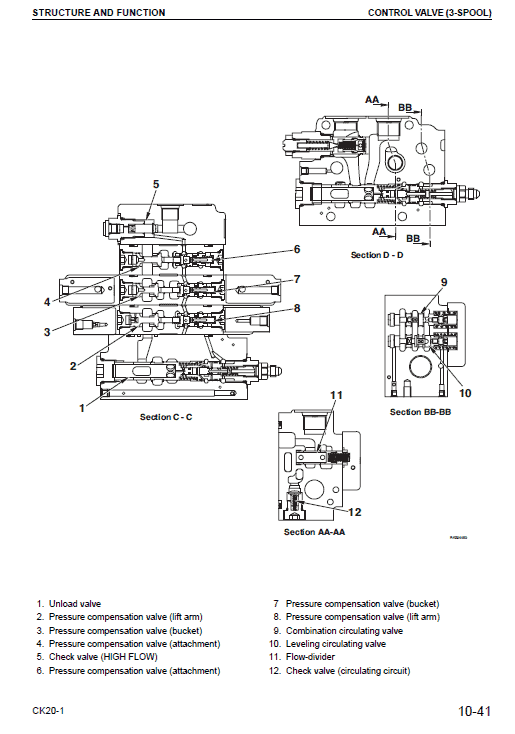
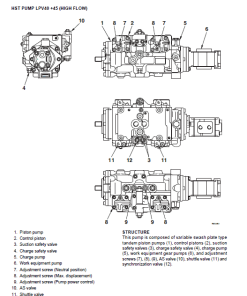
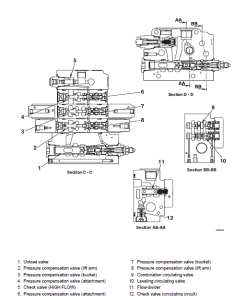
- Structure and Function: Detailed explanations of each component’s design and operation. This section is crucial for troubleshooting by offering a reference for understanding how components interrelate.
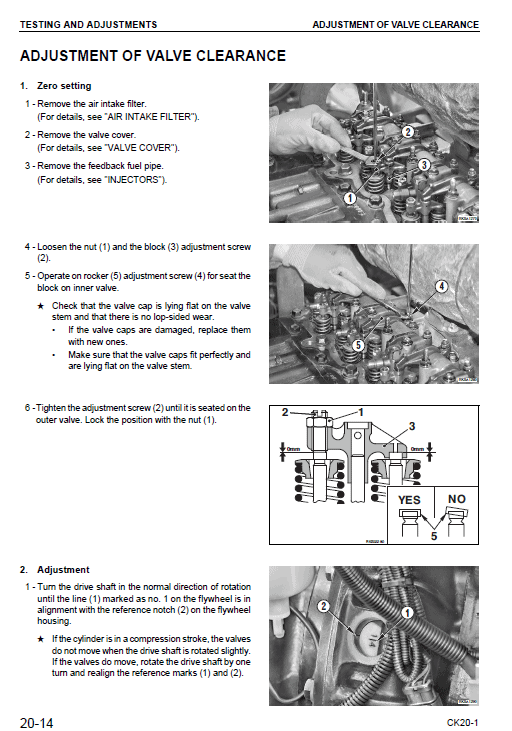
- Testing and Adjustments: Guidance on pre- and post-repair checks and necessary adjustments. Includes troubleshooting charts to link common problems to potential causes.
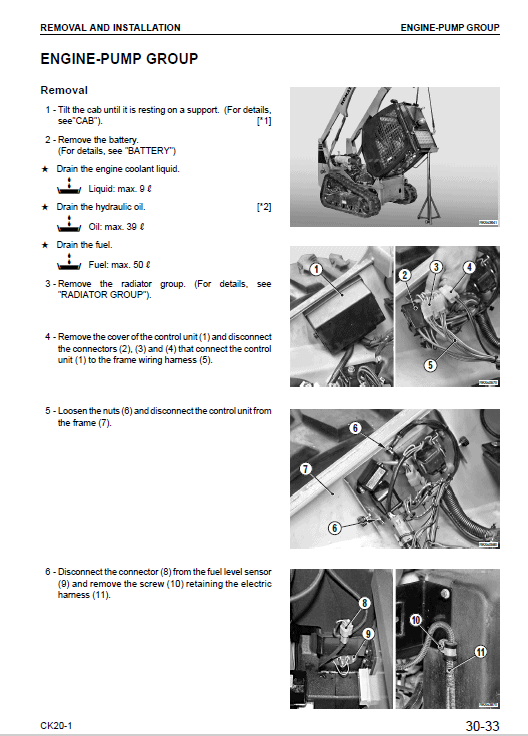
- Removal and Installation: Step-by-step instructions on the correct order and method for disassembling and assembling components, along with important safety precautions.
- Standard Maintenance: Criteria for evaluating disassembled components, ensuring they meet quality standards.
Benefits
- Improves the quality and accuracy of repairs.
- Helps technicians understand complex mechanical systems.
- Offers structured troubleshooting techniques.
- Ensures adherence to maintenance standards.
Usage Recommendations
- Review and understand the contents of the manual thoroughly before initiating repairs.
- Use the manual as a reference at every repair opportunity to ensure best practices.
- Follow safety precautions detailed in each section to prevent accidents and equipment damage.
Adjustment of the PPC Valve Clearances
Proper adjustment of the PPC valve (hand and foot) levers is crucial for maintaining system integrity. Follow these steps:
- Lower the equipment to the ground and turn off the engine.
- Switch the ignition key to ‘I’ and move the control levers to release hydraulic pressure. Then switch the key to ‘O’ (OFF) and remove it.
- Carefully loosen the oil-tank fill cap to relieve residual pressure.
- Remove the boot (1).
- Loosen the nut (2) securing the disc (3).
- Tighten the disc until it lightly contacts the four push-rods (4), ensuring no individual activation of push-rods during adjustment.
- Secure the disc by tightening the retaining nut (2) to a torque specification of 113-15 Nm.
Only logged in customers who have purchased this product may leave a review.




Reviews
There are no reviews yet.