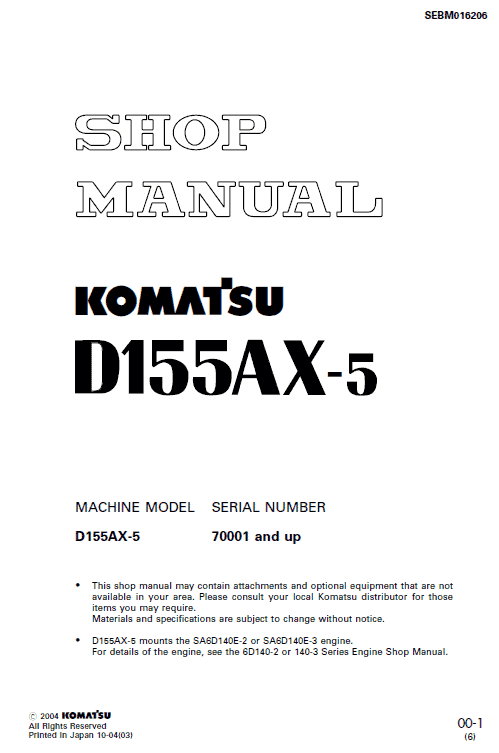
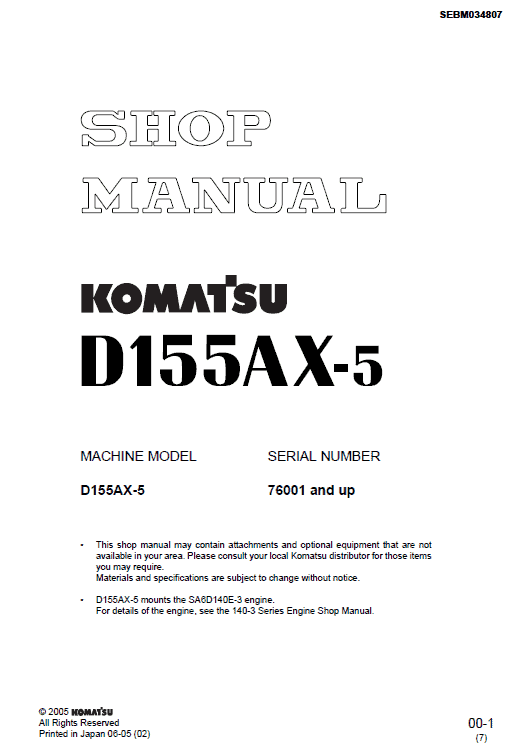
Komatsu D155AX-5 Dozer Service Manual
$35.00
Enhance your knowledge and operations with comprehensive manuals for the Komatsu D155AX-5 Dozer. This collection includes essential guides for optimal performance.
Komatsu D155AX-5 Bulldozer Service Manual
Product Overview
This comprehensive service manual is an essential resource for maintaining and troubleshooting the Komatsu D155AX-5 bulldozer. It provides detailed instructions and insights necessary for servicemen to understand and address various mechanical and operational challenges.
Key Features
- General Instructions: Comprehensive guidance on procedures common across sections such as “Disassembly and Assembly”, “Testing and Adjustments”, and “Troubleshooting”. This knowledge is crucial for effective service work.
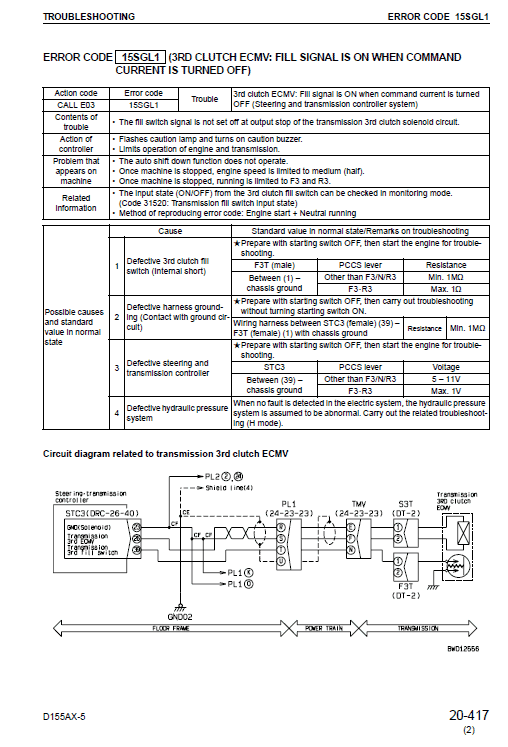
- Structure and Function: Detailed explanations with illustrations of constituent parts, block diagrams, and circuit diagrams. This section also serves as a training guide for service personnel.
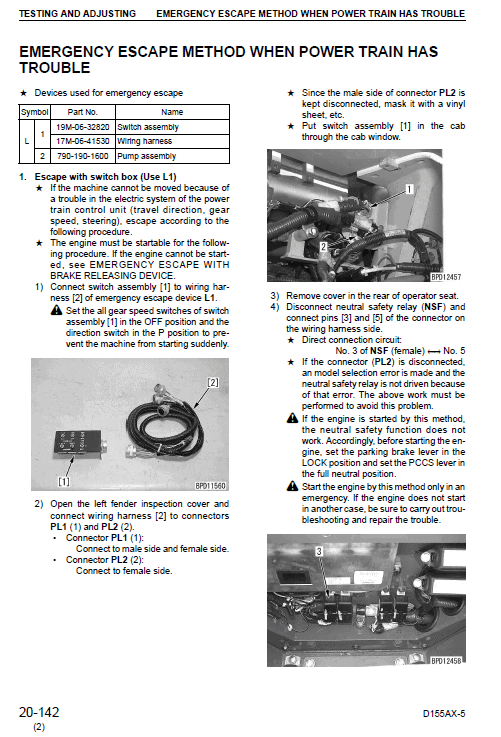
- Testing and Adjustments: Step-by-step procedures for performing necessary tests and adjustments, complete with photographs and equipment location descriptions.
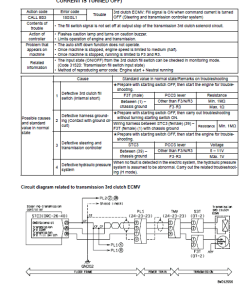
- Troubleshooting: Lists common issues, their causes, and diagnostic procedures. This section encourages application of knowledge from other sections to solve unlisted issues.
- Manual Specifications: Includes standard dimensions and tolerances necessary for testing, adjustments, and repairs, emphasizing the most commonly serviced machine parts.
Benefits
- Enhances the practical understanding of service procedures essential for maintaining the bulldozer.
- Serves as a valuable training resource for new service personnel.
- Provides clear, visual aids to support diagnostic and adjustment tasks.
- Equips servicemen with knowledge to solve both common and complex issues.
Usage Recommendations
- Study the “General Instructions” thoroughly to build a strong foundational understanding.
- Utilize the “Structure and Function” section as an educational tool for staff training.
- Regularly consult the “Testing and Adjustments” and “Troubleshooting” sections during maintenance and repair work.
Removal of Fan Motor Assembly
n
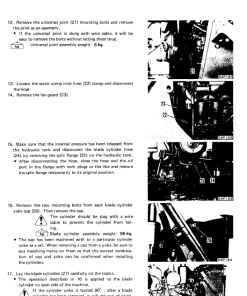
- Remove the fan drive assembly. For details, see REMOVAL OF FAN DRIVE ASSEMBLY.
- Unscrew the mounting bolts and lock plate (1).
- Detach nut (2).
- Utilize puller 1 to detach the fan (3).
- Remove the 4 mounting bolts and the fan motor assembly (4).
Only logged in customers who have purchased this product may leave a review.
Related products
$33.50
$34.00
$32.50


Reviews
There are no reviews yet.