Komatsu HM300-3 Dump Truck Service Manual
$36.00
Comprehensive Manual Package:
- Shop Manual: 2131 pages
- Operation and Maintenance Manual: 417 pages
- Field Assembly Manual: 31 pages
Product Specifications:
Komatsu Dump Truck HM300-3: Comprehensive Guide
Product Overview
This comprehensive guide for the Komatsu Dump Truck HM300-3 is designed to provide detailed information on its specifications, operations, and maintenance procedures. It includes vital insights into the machine’s dimensions, performance capabilities, and component specifications. Whether you’re troubleshooting or performing routine maintenance, this guide serves as a reliable reference.
Table of Contents
- 00: Index and Foreword
- 01: Specification
- 10: Structure, Function, and Maintenance Standard
- 20: Standard Value Table
- 30: Testing and Adjusting
- 40: Troubleshooting
- 50: Disassembly and Assembly
- 90: Diagrams and Drawings
Detailed Sections
General Specifications
In this section, you will find the general machine dimensions, performance specifications, component weights, and charts for fuel, coolant, and lubricant specifications. This information is crucial for ensuring the machine operates within its designed parameters.
Structure, Function, and Maintenance Standard
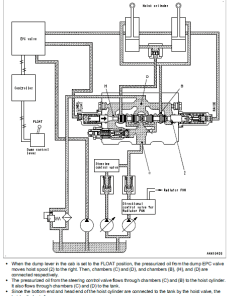
This section explains the structure and functionality of each component, providing a solid understanding of the machine’s design. It also serves as essential reference material for troubleshooting any emerging issues.
Testing, Adjusting, and Troubleshooting
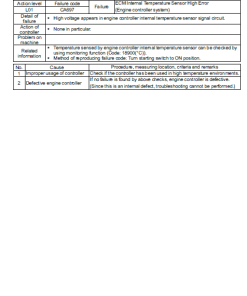
This section outlines the necessary checks to be made both before and after conducting repairs, including specific adjustments needed upon completion. Additionally, it includes troubleshooting charts that correlate problems with potential causes.
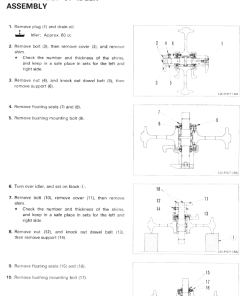
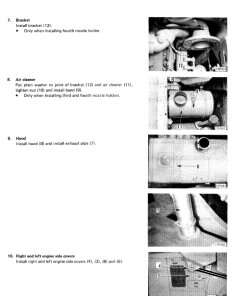
Disassembly and Assembly Instructions
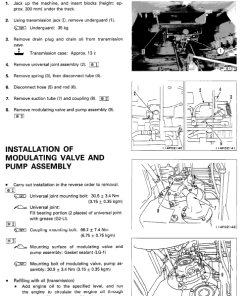
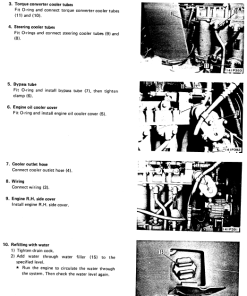
Here, you will find the step-by-step instructions for properly removing, installing, disassembling, or assembling each component of the Komatsu Dump Truck HM300-3. The section emphasizes safety precautions and best practices to ensure lasting repairs and maintenance.
Example Troubleshooting: Defective Wiring Harness or Engine Controller
Follow these steps to identify and address issues related to the wiring harness or engine controller:
- Turn the starting switch to the OFF position.
- Disconnect TEMP3 (KDPF outlet temperature sensor).
- Turn the starting switch to the ON position.
- If failure code [CA3319] is not displayed, the wiring harness or engine controller may be defective. Repeat the check for cause 2.
- Turn the starting switch to the OFF position again.
- Disconnect TEMP3, then connect a T-adapter to the female side.
- Connect a T-box to the T-adapter and use a jumper cable to connect pins (1) and (2) of the T-box.
- Connect the ground line to the signal line.
- Turn the starting switch to the ON position.
- If failure code [CA3321] is not displayed, the wiring harness or engine controller is likely defective. Repeat the check for cause 2.
Only logged in customers who have purchased this product may leave a review.







Reviews
There are no reviews yet.