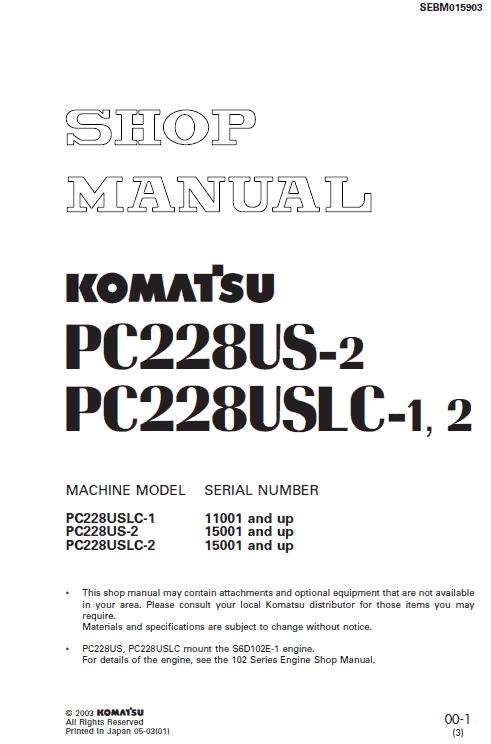
Komatsu Excavator PC228US-2, PC228USLC-1, and PC228USLC-2 Manual
Product Overview
This comprehensive manual is designed for the Komatsu Excavator models PC228US-2, PC228USLC-1, and PC228USLC-2. It provides detailed information on machine specifications, component functions, maintenance procedures, and troubleshooting techniques to ensure efficient and safe operation.
Key Features
- General Information: Covers machine dimensions, performance specifications, component weights, and fuel, coolant, and lubricant specification charts.
- Structure and Function: Offers insights into the structure and function of each component, serving as a vital reference for troubleshooting.
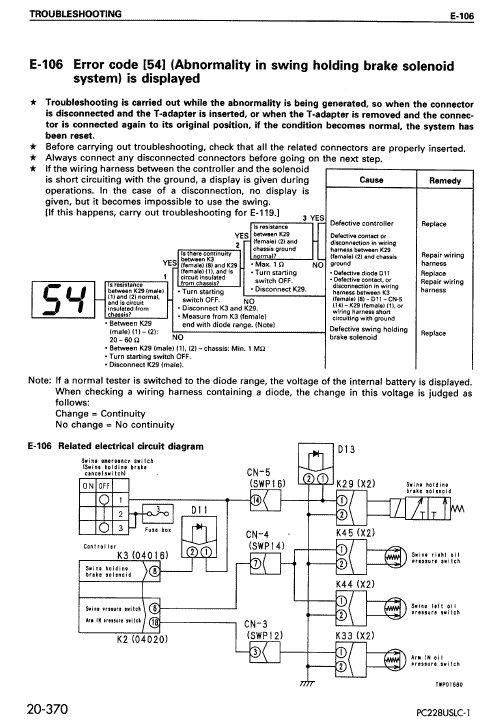
- Testing and Adjustments: Contains procedures for checks to be performed before and after repairs, adjustments post-checks, and troubleshooting charts linking problems to potential causes.
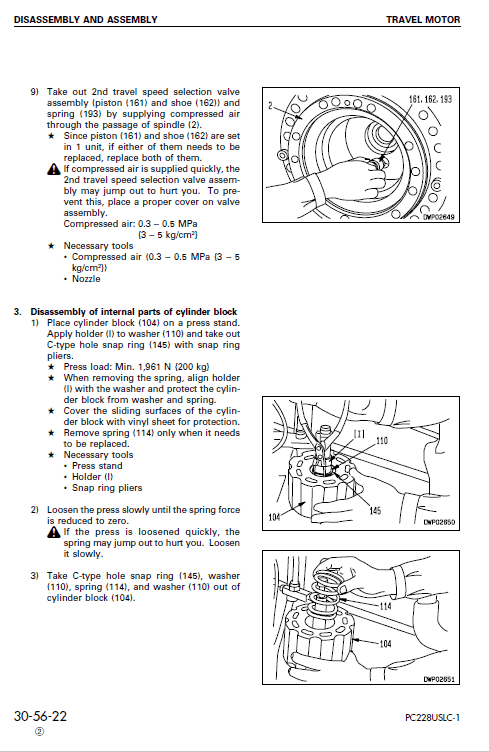
- Disassembly and Assembly: Step-by-step guides for removing, installing, disassembling, or assembling components, including safety precautions.
Benefits
- Enhances understanding of excavator components and operations.
- Provides reliable troubleshooting information to minimize downtime.
- Improves maintenance practices with detailed procedures.
- Boosts safety with recommended precautions for handling heavy components.
Usage Recommendations
- Always use lifting equipment with adequate capacity when moving heavy components.
- Check lifting gear such as wire ropes, chains, and hooks for any damage before use.
- Follow the recommended order during disassembly and assembly to prevent damage.
- Operate the lifting equipment slowly to avoid collisions within the machine’s components and environment.
Manual Extract – Disassembly of Brake Valve
n
Removal of Spool:
- Remove plug (324) from the rear flange (301) and the O-ring (336) from the plug.
- Ensure the motor is on the turning worktable for ease of work.
- Never reuse the removed O-ring (336).
- Necessary tools include a socket wrench and a wrench adapter, socket size 41.
- Remove 2 springs (328), 2 stoppers (325), and the spool (323) from the rear flange (301), taking care not to damage the periphery of the spool or the sliding surface.
- Slant the rear flange with either plug port down to allow the spool to slide for easy removal.
Only logged in customers who have purchased this product may leave a review.
Related products
$34.00
$34.00
$33.50






Reviews
There are no reviews yet.