-
×
 Hyundai R55W-7A Wheel Excavator Service Repair Manual
$34.00
 -
×
 Hyundai HX55A CR Crawler Excavator Service Repair Manual
$34.00
 -
×
 Hyundai R330LC-9A Crawler Excavator Service Repair Manual
$35.00
 -
×
 Hyundai HX160 L, HX180 L Crawler Excavator Service Repair Manual
$35.00
 -
×
 Hyundai HX300 L Crawler Excavator Service Repair Manual
$36.00
 -
×
 Hyundai HX500A L Crawler Excavator Service Repair Manual
$34.00
 -
×
 Hyundai HX35A Z Crawler Excavator Service Repair Manual
$34.00
 -
×
 Hyundai R27Z-9 Crawler Excavator Service Repair Manual
$34.00
 -
×
 Hyundai HX480S L, HX520S L Crawler Excavator Service Repair Manual
$35.00
 -
×
 Hyundai R130S (Smart+) Crawler Excavator Service Repair Manual (Built in India)
$34.00
 -
×
 Hyundai R320LC-3 Crawler Excavator Service Repair Manual
$34.00
 -
×
 Hyundai HX17A Z Crawler Excavator Service Repair Manual
$34.00
 -
×
 Hyundai R180LC-7 Crawler Excavator Service Repair Manual
$34.00
 -
×
 Hyundai HX300HD Crawler Excavator Service Repair Manual
$34.00
 -
×
 Hyundai R450LC-7 Crawler Excavator Service Repair Manual
$35.00
 -
×
 Hyundai HX300LT3 Crawler Excavator Service Repair Manual
$34.00
 -
×
 Hyundai HX430 L Crawler Excavator Service Repair Manual
$35.00
 -
×
 Hyundai R220LC-9S Crawler Excavator Service Repair Manual (Built in Brazil)
$35.00
 -
×
 Hyundai HX260 L Crawler Excavator Service Repair Manual
$35.00
 -
×
 Hyundai R180LC-3 Crawler Excavator Service Repair Manual
$34.00
 -
×
 Hyundai R170W-7A Wheel Excavator Service Repair Manual
$35.00
 -
×
 Hyundai R140LC-7 Crawler Excavator Service Repair Manual
$34.00
 -
×
 Hyundai R200W-7A Wheel Excavator Service Repair Manual
$35.00
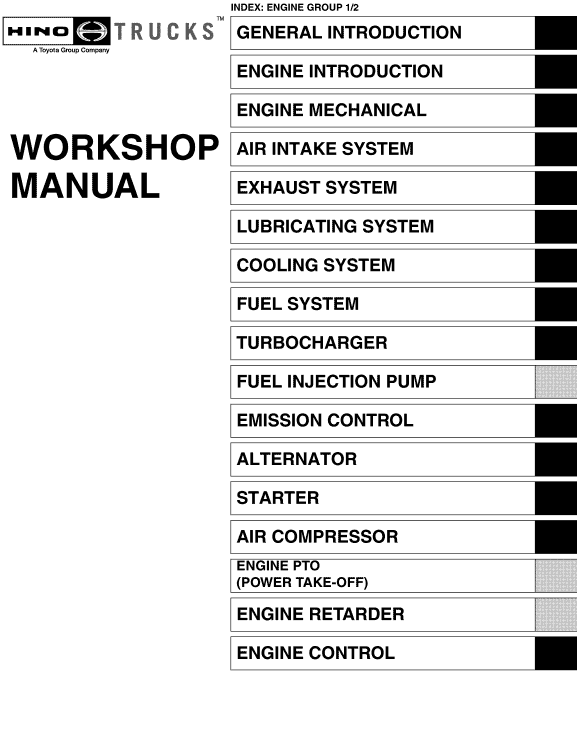
Hino 145, 165, 185, 238, 258LP, 268, 308, 338 Series Year 2008 Repair Manual
$36.00
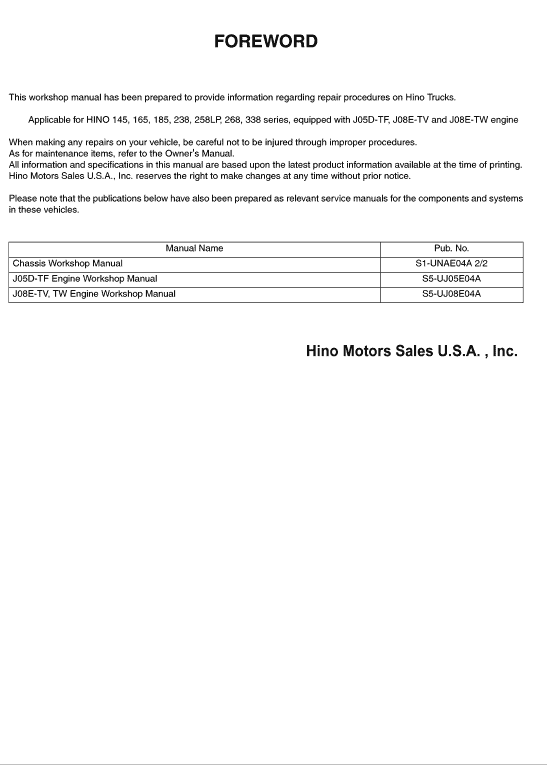
Access the comprehensive Hino Truck 2008 Repair and Service Manual for detailed guidance on series 145 (NA6J), 165 (NB6J), 185 (NC6J), 238 (ND8J), 258 (ND8J), 268 (NE8J, NJ8J), 308 (NF8J), and 338 (NV8J) equipped with J05D-TF, J08E-TV, and J08E-TW engines.
Format: PDF
Language: English
SKU: 378861
Category: Hino
Hino 145, 165, 185, 238, 258LP, 268, 338 Series Year 2008 Repair Manual
Product Overview
Gain comprehensive knowledge and maintenance tips for your Hino Truck 2008 models with this detailed Repair and Service Manual. Designed specifically for the 145 (NA6J), 165 (NB6J), 185 (NC6J), 238 (ND8J), 258LP (ND8J), 268 (NE8J, NJ8J), 308 (NF8J), and 338 (NV8J) series equipped with J05D-TF, J08E-TV, and J08E-TW engines.
Key Features
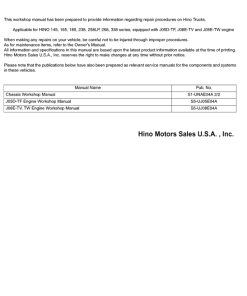
- Comprehensive repair manual with 1192 pages covering Series 145, 165, 185, 238, 258LP, 268, 308, and 338.
- Owner’s manual consisting of 294 pages for user-focused guidance.
- Detailed engine manuals:
- Hino J05D-TF Engine: 396 pages
- Hino J08E-TV and J08E-TW Engines: 424 pages
Benefits
- Ensure smooth and economical operation of your truck through proactive maintenance guidance.
- Improve safety and reduce downtime with precise repair information for each series.
- Access the latest product information at the time of manual printing for accurate diagnostics.
Usage Recommendations
- Regularly perform maintenance checks as outlined in the manual to extend the lifespan of your vehicle.
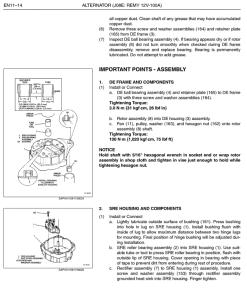
- Utilize the detailed procedures to safely conduct repairs and inspections, preventing personal injury and equipment damage.
- Refer to the Owneru2019s and Driveru2019s Manual for complementary maintenance insights.
This workshop manual provides exhaustive instructions for maintaining your Hino truck series from the year 2008, ensuring long-term functionality and performance. Owners are accountable for conducting timely inspections and repairs.
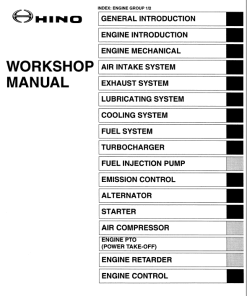
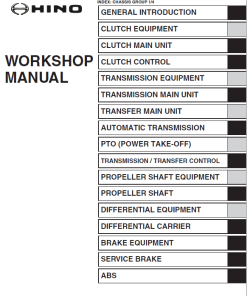
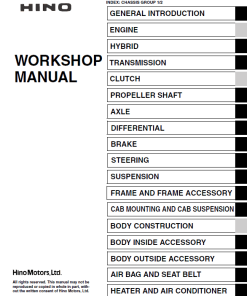
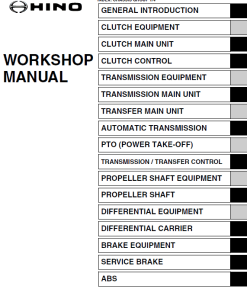
Table of Contents
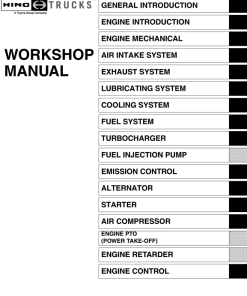
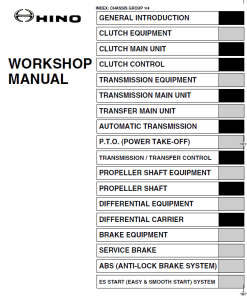
- General Introduction
- Clutch Equipment and Control
- Transmission and Transfer Units
- Automatic Transmission
- Power Take-off (P.t.o.)
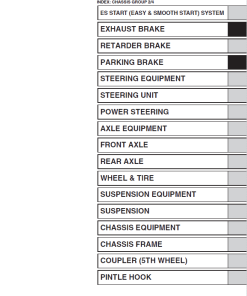
- Various Brake Systems including ABS
- Steering Equipment
- Axle and Suspension Details
- Chassis Components
Instruction Extract
n
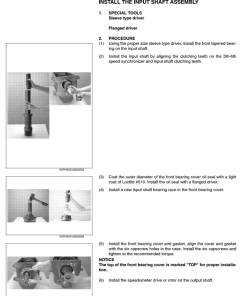
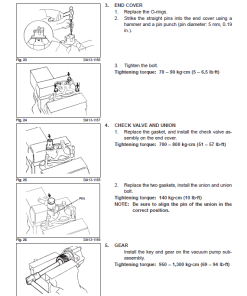
Follow these steps for the removal of the differential carrier from the axle housing:
- Place a hydraulic roller jack under the carrier for support.
- Remove securing capscrews except for two on the top. Keep the top capscrews loose until ready to remove.
- Loosen the carrier using a dead-blow hammer by striking the mounting flange carefully.
- Use a pry bar and hydraulic roller jack to detach the carrier, taking care not to damage components.
- Use a lifting tool to position the carrier into a stand, as detailed on page DF02-7.
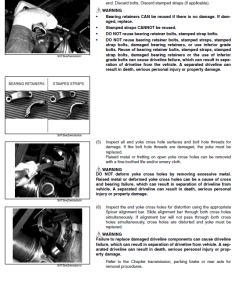
Warning: To avoid injury and damage, inspect lifting straps for damage, and avoid shock-loading.
Only logged in customers who have purchased this product may leave a review.
Related products
$36.00
$36.00
$36.00


Reviews
There are no reviews yet.