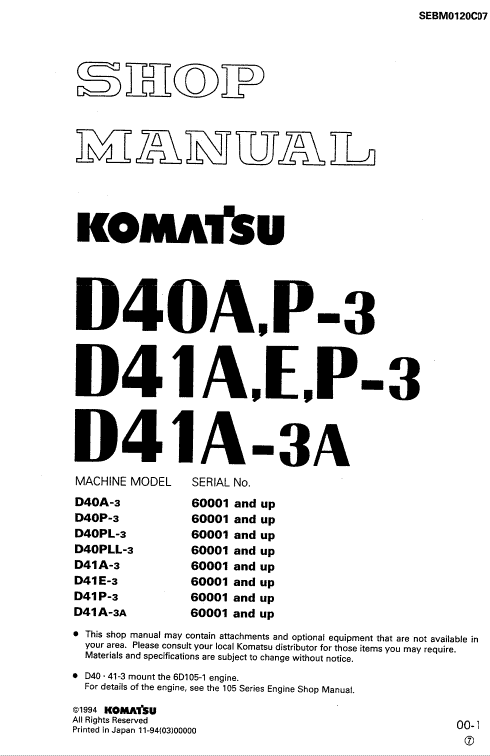
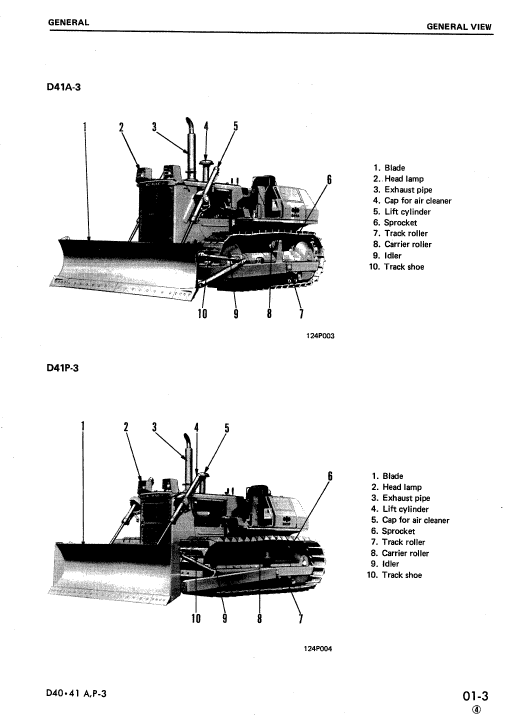
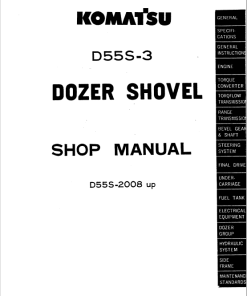
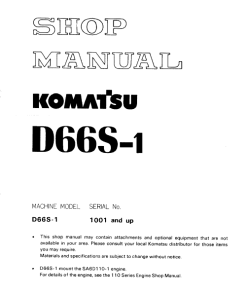
Komatsu Dozer Service Manual
Product Overview
This comprehensive shop manual is designed to enhance the quality of repairs by providing technicians with a detailed understanding of the Komatsu dozer’s components and repair procedures. It outlines the best practices for performing repairs and making informed judgments. Please study this manual thoroughly to leverage its guidance effectively during maintenance and repair tasks.
Key Features
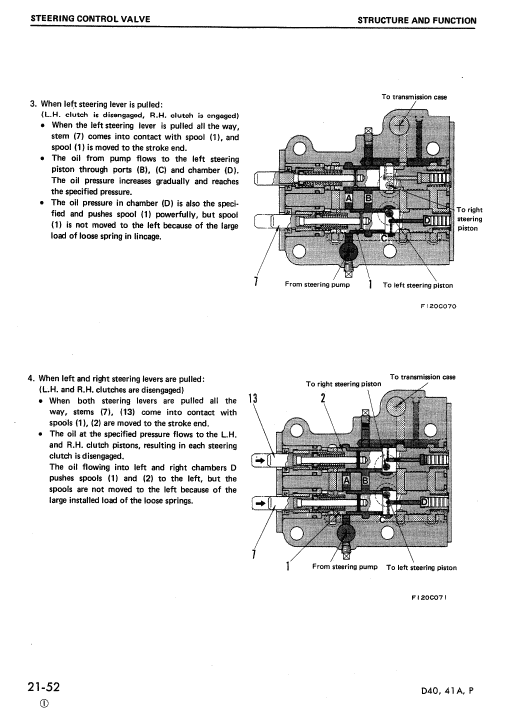
- Structure and Function: Detailed explanations of each component’s structure and function, aiding in troubleshooting and understanding.
- Testing and Adjusting: Instructions for pre- and post-repair checks, including adjustment guidelines and troubleshooting charts linking problems to possible causes.
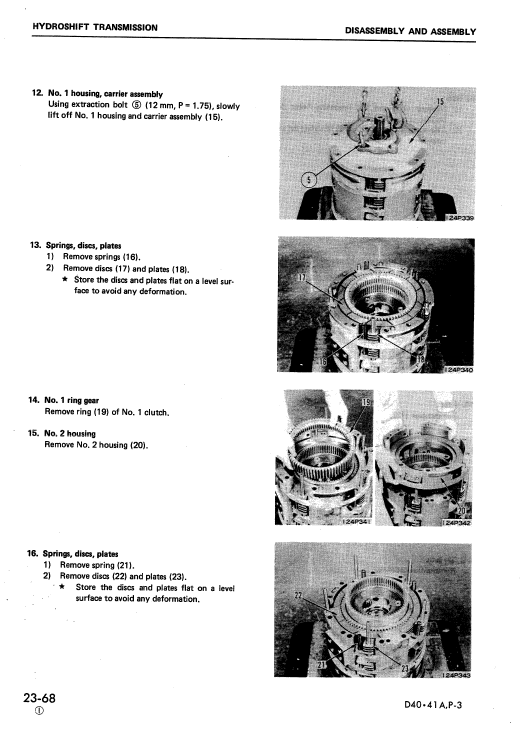
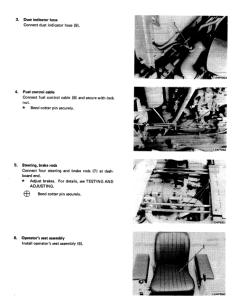
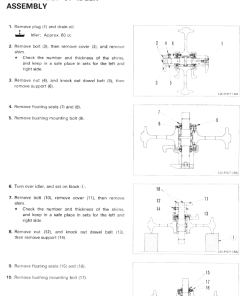
- Disassembly and Assembly: Guides the order and procedures for removing, installing, disassembling, and assembling components, with safety precautions highlighted.
- Maintenance Standard: Provides judgment criteria for inspecting disassembled parts to ensure they meet operational standards.
Benefits
- Improved Repair Quality: Ensures accurate and efficient repairs.
- Comprehensive Troubleshooting: Empowers technicians with troubleshooting resources for better problem-solving.
- Step-by-Step Guidance: Detailed instructions support safe and precise component handling.
Usage Recommendations
- Thoroughly read and understand the relevant sections before initiating any repair or maintenance task.
- Utilize the troubleshooting charts when diagnosing problems for accurate identification of possible causes.
- Refer to the Testing and Adjusting Fuel Injection Timing section for detailed timing adjustments during fuel injection pump repairs or replacements.
/p>
Example Adjustment Process
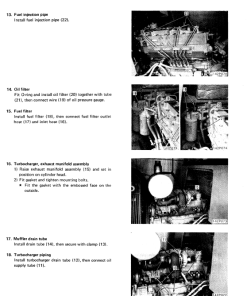
- Rotate the crankshaft in the normal direction until the pointer (2) aligns with the mark on the drive shaft (1). If the coupling line is not at the front, rotate one more turn.
- Adjust the injection pump by moving it inwards or outwards until line A on the pump aligns with line B on the coupling.
- Secure the injection pump by tightening the four mounting bolts (11) evenly and progressively.
For comprehensive details on these adjustments, refer to the Testing and Adjusting Fuel Injection Timing section.
Only logged in customers who have purchased this product may leave a review.
Related products
$27.50
$34.50
$34.00




Reviews
There are no reviews yet.