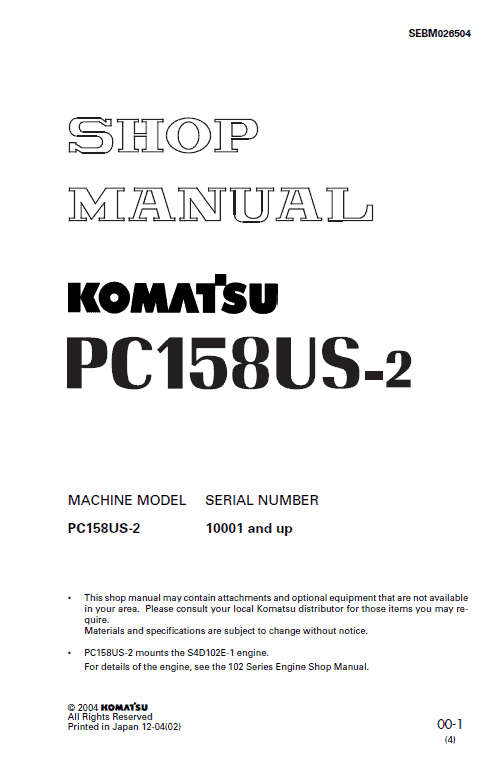
Komatsu Excavator PC158US-2 Service Manual
Product Overview
This service manual provides comprehensive guidance on the operation and maintenance of the Komatsu Excavator PC158US-2. It includes detailed instructions on various machine components, performance specifications, maintenance standards, and troubleshooting techniques to ensure optimal functionality and longevity of your equipment.
n
Key Features
- General Specifications: Detailed machine dimensions, performance data, and component weights.
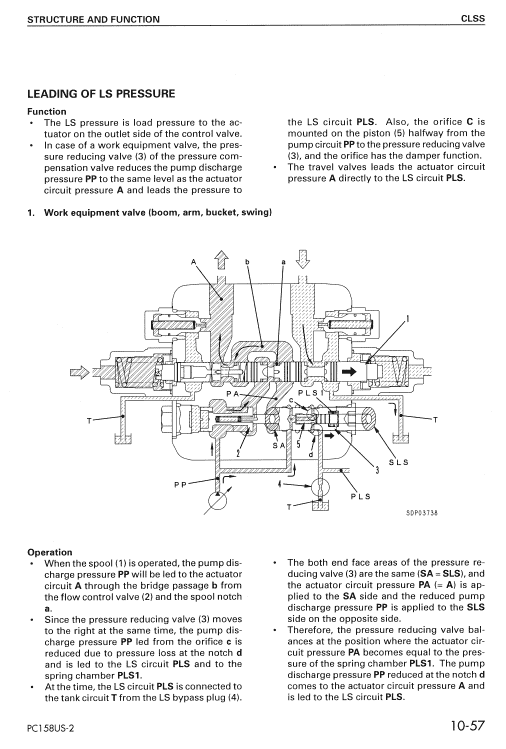
- Structure and Function: In-depth understanding of each componentu2019s structure and operation.
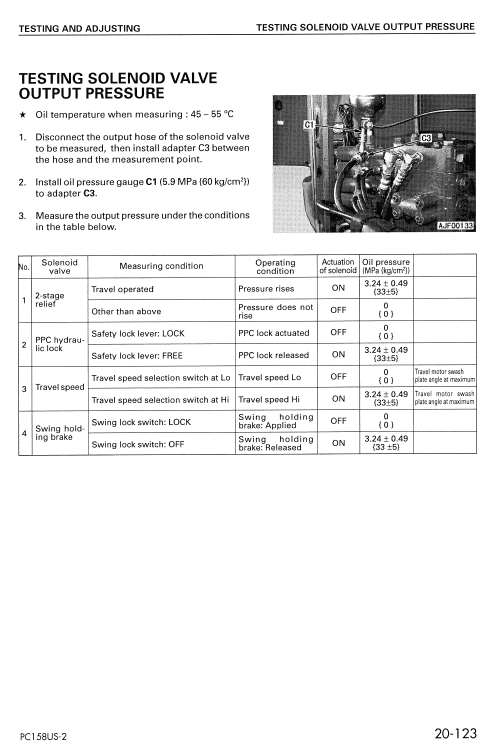
- Testing and Adjusting: Procedures for checking and fine-tuning components pre- and post-repair.
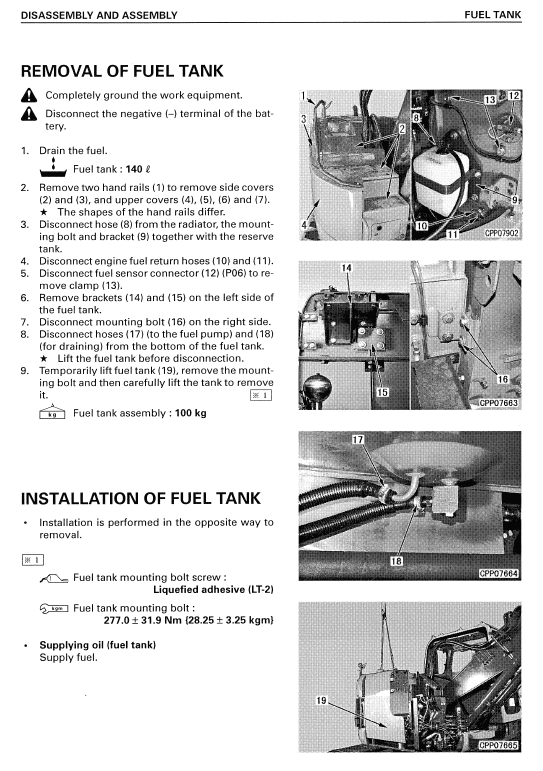
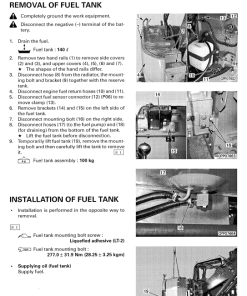
- Disassembly and Assembly: Step-by-step guidance for safe and efficient component handling.
- Maintenance Standards: Comprehensive reference material for maintaining equipment standards.
Benefits
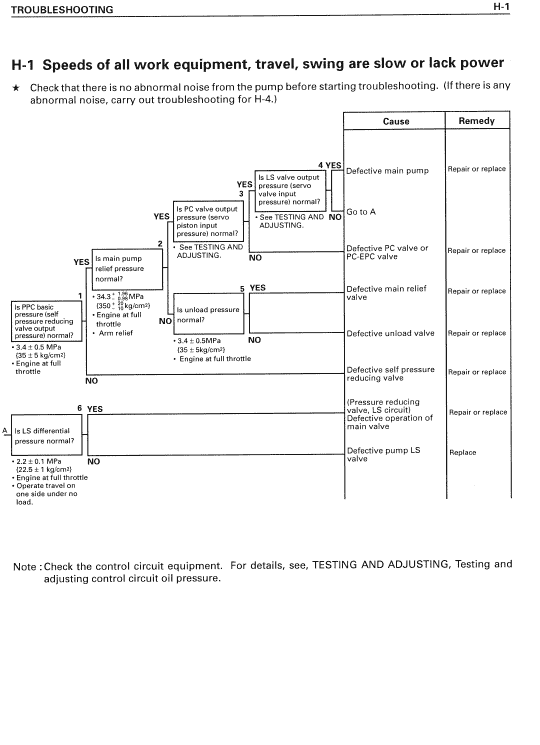
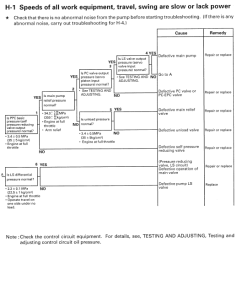
- Facilitates troubleshooting with clear problem-to-cause correlation charts.
- Ensures safe handling of heavy machinery with best practices for using lifting equipment.
- Promotes efficient servicing through organized disassembly and assembly procedures.
Usage Recommendations
- Always use a hoist or crane of adequate capacity to lift heavy components and ensure all chains and hooks are damage-free.
- Verify the correct installation points for lifting equipment to prevent accidents.
- Operate lifting devices slowly to avoid collisions with other parts.
- Avoid working under any components that remain elevated by a hoist or crane.
Assembly Instructions for Track Roller
- Utilize push tool D to press fit bushings (9) and (10) into roller (4).
- Secure collar (8) onto shaft (5).
- With tool M1, install the floating seal (6) onto shaft (5). Ensure the contact surfaces of the O-ring (6c) and floating seal (6a) are clean and dry.
- Use tool M1 to place floating seals (6) and (3) into roller (4), adhering to the precautions from Step 3 for accurate installation.
- Mount shaft (5) into roller (4).
- Carefully invert the roller (4) and shaft (5) assembly.
- Using tool M1, affix floating seal (3) to collar (2) and follow the guidelines from Step 3 for proper sealing.
- Attach collar (2) to shaft (5) and finalize the installation with pin (1).
Only logged in customers who have purchased this product may leave a review.
Related products
$32.50
$34.00
$33.50
$33.50

 John Deere 1210E IT4 Forwarders (SN 001698 - 001976) Parts Catalog Manual - PC12648
  Nissan Duke F15 2011-2017 Repair Manual
  Komatsu PC128UU-2 Excavator Service Manual



Reviews
There are no reviews yet.