Komatsu WA900-3 & WA900-3E0 Accumulator Charge Valve Guide
Product Overview
This comprehensive guide provides detailed instructions for the disassembly and assembly of the accumulator charge valve in Komatsu WA900-3 and WA900-3E0 models. It includes essential information on specifications, standard values, and troubleshooting techniques.
Key Features
- Clear step-by-step disassembly instructions.
- Detailed component descriptions.
- Comprehensive guide to testing and adjusting.
- Standard value table included for accurate referencing.
Benefits
- Facilitates maintenance and repair processes for improved equipment efficiency.
- Helps in identifying and solving common issues with the accumulator charge valve.
- Enhances understanding of component functions and structure.
Usage Recommendations
- Follow each disassembly and assembly step carefully to ensure proper maintenance.
- Refer to the included diagrams and drawings for visual guidance.
- Use the troubleshooting section to address malfunctions promptly.
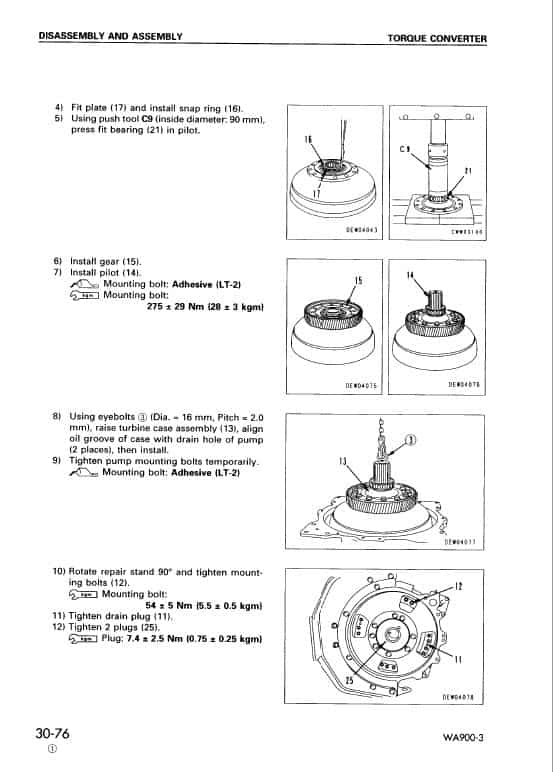
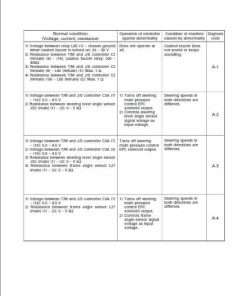
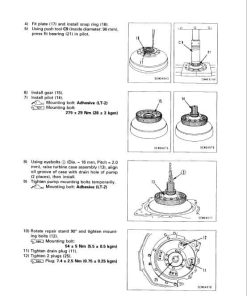
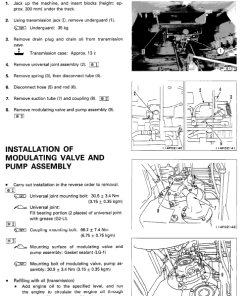
For a visual reference, view the step-by-step guide image.
Disassembly Steps
- Remove the PPC relief valve (2) from the valve body (1).
- Detach the O-rings (3), (5) and the two backup rings (4) from the PPC relief valve.
- Unscrew plug (6) from the valve body, followed by the spring (7) and spool (8).
- Take out the O-ring (9) from plug (6).
- Extract the bushing (10) from the valve body.
- Remove the snap ring (11), filter (12), and O-ring (13) from the bushing.
- Unscrew the locknut (14) from the valve body and remove the adjustment screw (15).
- Take out the retainer (16), spring (17), shim (18), and O-ring (19) from the adjustment screw.
- Remove plug (20) from the valve body, followed by the retainer (21), piston (22), and valve seat (23).
- Remove the O-ring (24) from plug (20).
- Unscrew the locknut (14) from the valve body and remove the adjustment screw (15).
- Remove the ball (25), spring (26), shim (18), and O-ring (19) from the adjustment screw.
- Take off plug (27) from the valve body and remove the orifice (28).
- Extract the snap ring (29) from the valve body and remove the filter (30).
Only logged in customers who have purchased this product may leave a review.
Related products
$34.50
$34.00

 Caterpillar CAT CB-335D Vibratory Compactor Service Repair Manual (D4E00001 and up)

Reviews
There are no reviews yet.